| Problem 1 |
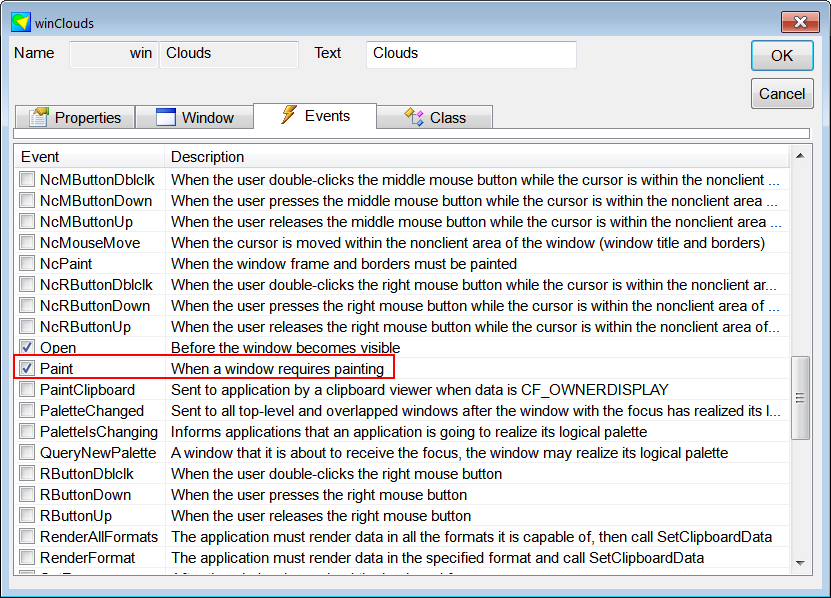
| Create a Window Application using Wintempla called Clouds to draw a bitmap with transparency. After creating the application, open Wintempla, double click anywhere in the window editor and select the Paint event as shown. Crear una Aplicación de Ventana usando Wintempla llamada Clouds para dibujar un bitmap con transparencia. Después de crear la aplicación, abra Wintempla, haga doble clic en cualquier lugar en la ventana del editor y selecciona el evento de Paint como se muestra. |
| Step A |
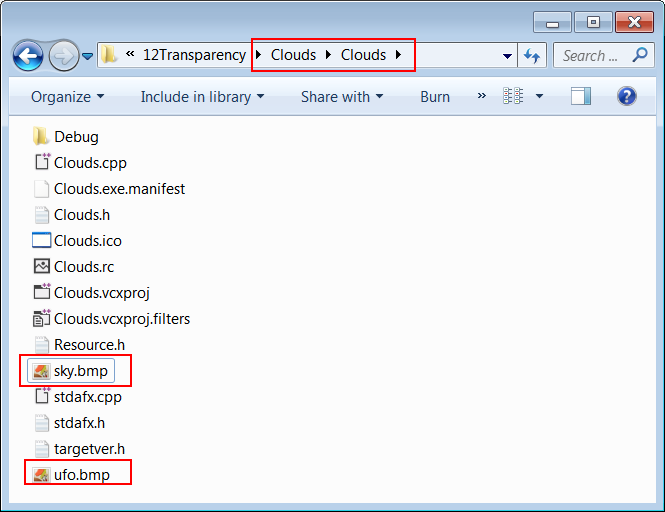
| Download an image called sky.bmp from the Internet. You may download an image file with other extension, and then you can convert it to BMP using any image software. Descarga una imagen llamda sky.bmp de la Internet. Usted puede descargar un archivo de imagen con otra extensión, y entonces usted puede convertirla a una BMP usando un software para imágenes. |

| Step B |
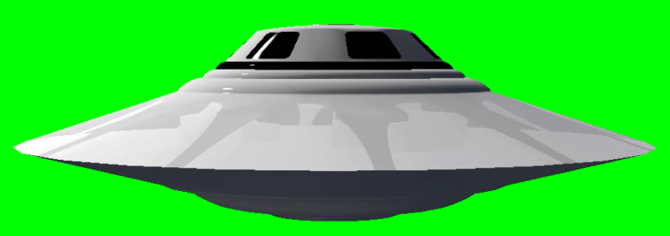
| Download a Green Screen image from the Internet (http://www.bestgreenscreen.de) called the image ufo.bmp. Descargue una imagen de Pantalla Verde de la Internet (http://www.bestgreenscreen.de) llame a la imagen ufo.bmp. |
| Step C |
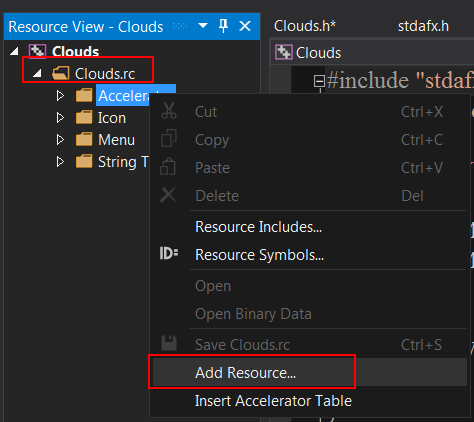
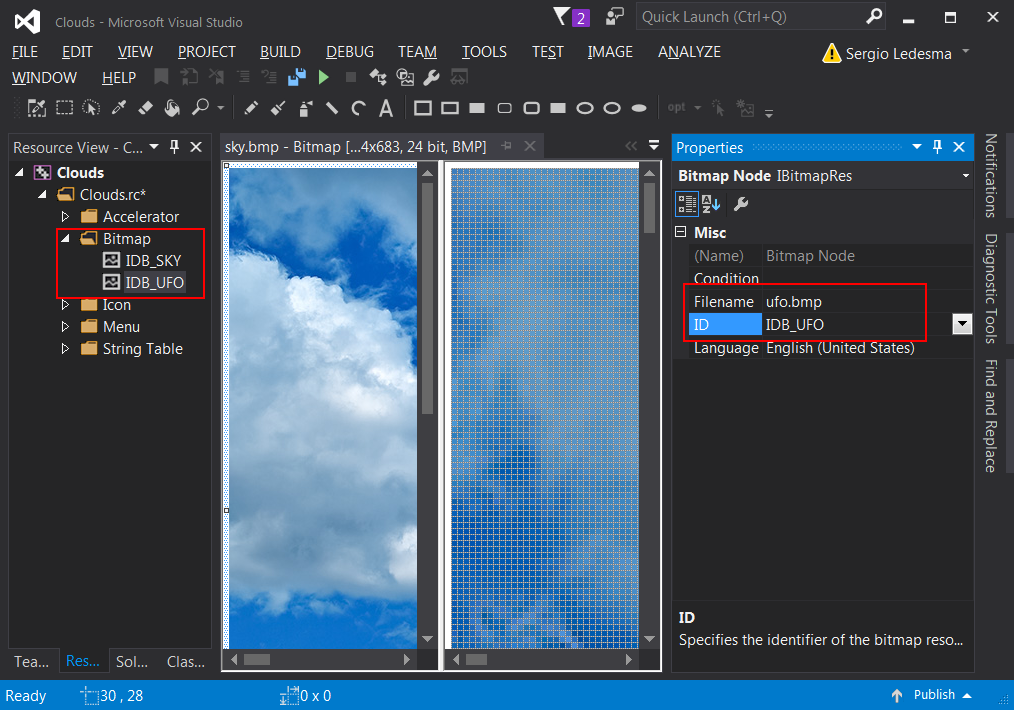
| Open Resource View, select Clouds.rc and use the context menu to select Add Resource... Select Bitmap and press the Import button to import both images: sky.bmp and ufo.bmp. You can use the Properties View to change the name to IDB_SKY and IDB_UFO as shown. Abra la Vista de Recursos, seleccione Clouds.rc y use el menú de contexto para seleccionar Agregar Recurso... Seleccione Bitmap y presiona el botón de Importar para importar las dos imágenes: sky.bmp y ufo.bmp. Usted puede usar La Vista de Propiedades para cambiar los nombres a IDB_SKY y IDB_UFO como se muestra. |
| Clouds.h |
| #pragma once //______________________________________ Clouds.h #include "Resource.h" class Clouds: public Win::Window { public: Clouds() { } ~Clouds() { } CG::DDBitmap bitmapSky; CG::DDBitmap bitmapUfo; ... }; |
| Clous.cpp |
| #include "stdafx.h" //________________________________________ Clouds.cpp #include "Clouds.h" int APIENTRY wWinMain(HINSTANCE hInstance, HINSTANCE , LPTSTR cmdLine, int cmdShow){ Clouds app; app.CreateMainWindow(L"Clouds", cmdShow, IDI_Clouds, NULL, (HBRUSH)(::GetStockObject(NULL_BRUSH)), hInstance); return app.MessageLoop(IDC_Clouds); } void Clouds::Window_Open(Win::Event& e) { bitmapSky.CreateFromResource(hInstance, IDB_SKY); bitmapUfo.CreateFromResource(hInstance, IDB_UFO); } void Clouds::Window_Paint(Win::Event& e) { CG::Gdi gdi(hWnd, true, false); gdi.DrawBitmap(bitmapSky, 0, 0); gdi.DrawBitmap(bitmapUfo, 0, 0, RGB(0, 255, 0)); // Be sure to use the correct green color } |
| Problem 2 |
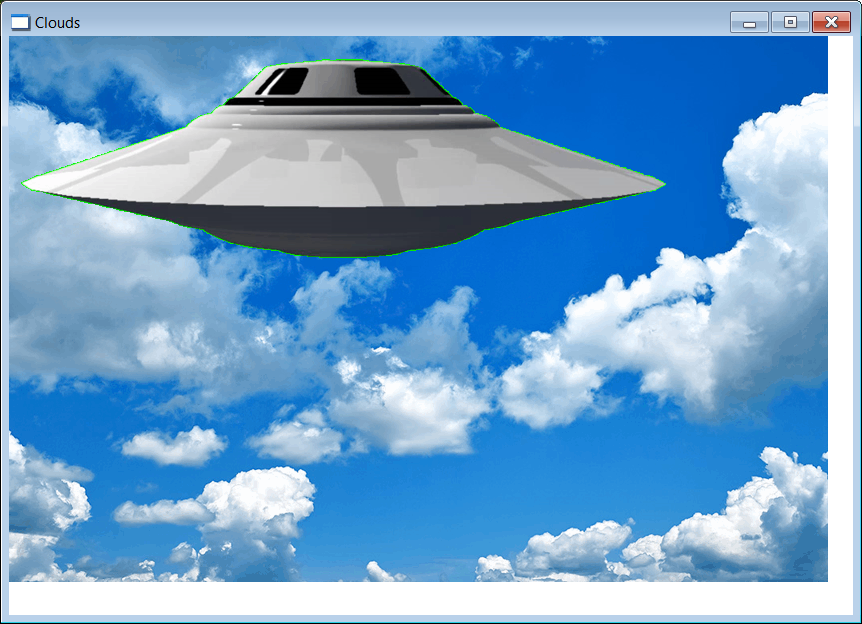
| Create a Window Application using Wintempla called CircleSky to draw a bitmap using a circular mask. After creating the application, open Wintempla, double click anywhere in the window editor and select the Paint event as shown. You will need to add the sky.bmp (follow the instructions of previous problem). Crear una Aplicación de Ventana usando Wintempla llamada CircleSky para dibujar un bitmap usando una máscara circular. Después de crear la aplicación, abra Wintempla, haga doble clic en cualquier lugar en la ventana del editor y selecciona el evento de Paint como se muestra. Usted necesitará agregar el archivo sky.bmp (siga las instrucciones del problema previo). |
| CircleSky.h |
| #pragma once //______________________________________ CircleSky.h #include "Resource.h" class CircleSky: public Win::Window { public: CircleSky() { } ~CircleSky() { } CG::DDBitmap bitmapSky; CG::DDBitmap bitmapUfo; CG::DDBitmap mask; ... }; |
| CircleSky.cpp |
| ... void CircleSky::Window_Open(Win::Event& e) { bitmapSky.CreateFromResource(hInstance, IDB_SKY); //_________________________________________________ Create Mask mask.CreateMonochrome(500, 500); RECT rcPaint ={0, 0, 500, 500}; CG::Gdi gdi(mask, rcPaint, false); CG::Brush brushWhite(RGB(255, 255, 255)); gdi.FillRect(rcPaint, brushWhite); // CG::Brush brushBlack(RGB(0, 0, 0)); gdi.SelectNullPen(); gdi.Select(brushBlack); gdi.Circle(250, 250, 250); //mask.SaveBMP(L"C:\\selo\\hola.bmp"); } void CircleSky::Window_Paint(Win::Event& e) { CG::Gdi gdi(hWnd, true, false); gdi.DrawBitmap(bitmapSky, 20, 20, 500, 500, mask); } |
| Problem 3 |
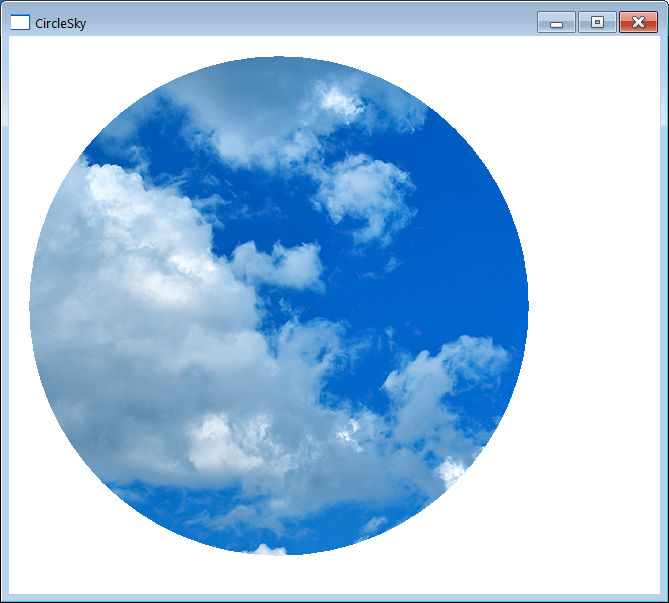
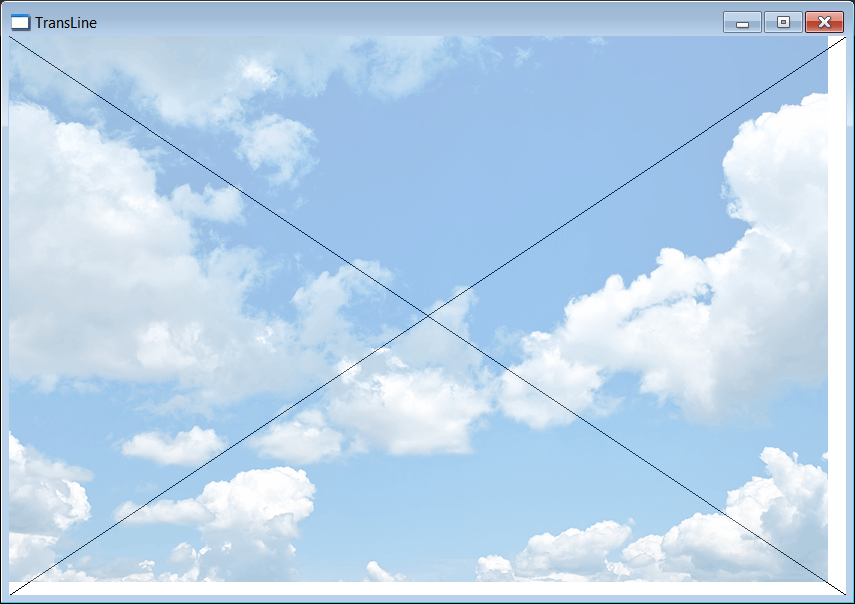
| Create a Window Application using Wintempla called TransLine to test alpha transparency while drawing a bitmap. After creating the application, open Wintempla, double click anywhere in the window editor and select the Paint event as shown. You will need to add the sky.bmp (follow the instructions of previous problem). Crear una Aplicación de Ventana usando Wintempla llamada TransLine para probar transparencia alpha al dibujar un bitmap. Después de crear la aplicación, abra Wintempla, haga doble clic en cualquier lugar en la ventana del editor y selecciona el evento de Paint como se muestra. Usted necesitará agregar el archivo sky.bmp (siga las instrucciones del problema previo). |
| TransLine.h |
| #pragma once //______________________________________ TransLine.h #include "Resource.h" class TransLine: public Win::Window { public: TransLine() { } ~TransLine() { } CG::DDBitmap bitmapSky; ... }; |
| TransLine.cpp |
| ... void TransLine::Window_Open(Win::Event& e) { bitmapSky.CreateFromResource(hInstance, IDB_SKY); } void TransLine::Window_Paint(Win::Event& e) { CG::Gdi gdi(hWnd, true, false); gdi.Line(0, 0, width, height); gdi.Line(width, 0, 0, height); const int alpha = 100; gdi.DrawBitmap(bitmapSky, 0, 0, alpha); } |
| Problem 4 |
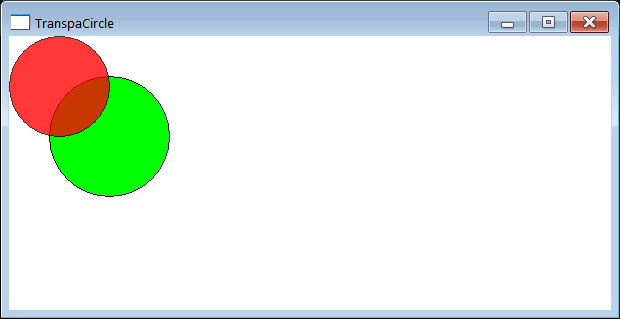
| Create a Window Application using Wintempla called TranspaCircle to test alpha transparency while drawing overlapping circles. After creating the application, open Wintempla, double click anywhere in the window editor and select the Paint event as shown. Crear una Aplicación de Ventana usando Wintempla llamada TranspaCircle para probar transparencia alpha para dibujar círculos encimados. Después de crear la aplicación, abra Wintempla, haga doble clic en cualquier lugar en la ventana del editor y selecciona el evento de Paint como se muestra. |
| TranspaCircle.h |
| #pragma once //______________________________________ TranspaCircle.h #include "Resource.h" class TranspaCircle: public Win::Window { public: TranspaCircle() { } ~TranspaCircle() { } CG::DibSection dibSection; const wchar_t * GetClassName(){return L"TranspaCircle";} protected: ... }; |
| TranspaCircle.cpp |
| ... void TranspaCircle::Window_Open(Win::Event& e) { //____________________________________________________ Create a blue bitmap with a red circle dibSection.CreateCompatibleWithScreen(200, 200); CG::Gdi gdi(dibSection, false); //__________________________ Draw the blue background CG::Brush brushBlue(RGB(0, 0, 255)); gdi.FillRect(0, 0, 200, 200, brushBlue); //__________________________ Draw a red circle in the bitmap CG::Brush brushRed(RGB(255, 0, 0)); gdi.Select(brushRed); gdi.Circle(50, 50, 50); const int alpha = 200; // From 0 to 255 dibSection.SetTransparency(RGB(0, 0, 255), alpha); } void TranspaCircle::Window_Paint(Win::Event& e) { CG::Gdi gdi(hWnd, true, false); //_________________________ Paint a green circle CG::Brush brush(RGB(0, 255, 0)); gdi.Select(brush); gdi.Circle(100, 100, 60); //_________________________ Paint the bitmap with the red circle gdi.DrawDibSection(dibSection, 0, 0); } |